ID Badge Design Guidelines
ID Badge Design Specifications and Guide
- ID Badge Print Technology
- ID Card Material
- RFID Card Printing and Design Issues
- Artwork Specifications
- Providing Artwork Files
- Color Matching
- Full Bleeds, Multiple Designs, and Color Coding
- Font Options
- Font Attributes and Auto-Reduce
- Badge Photos and Orientation
- Backside Printing
- Slot Punch Considerations and Tips
- Design Templates and Proofing
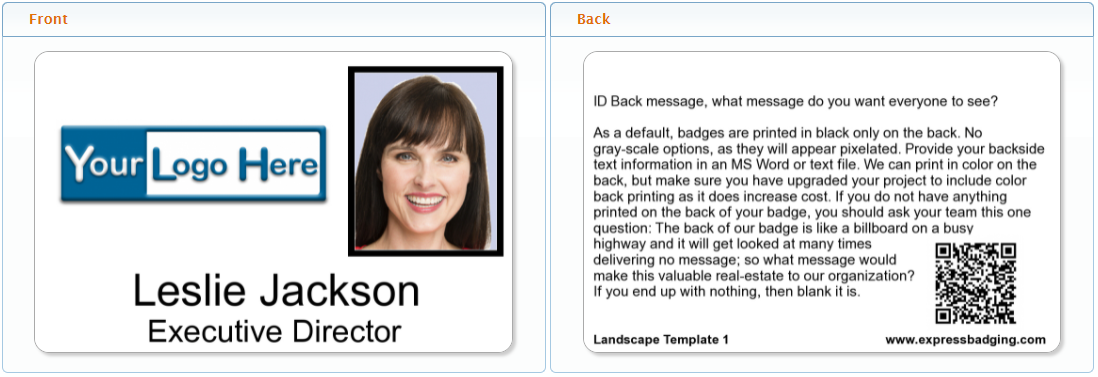
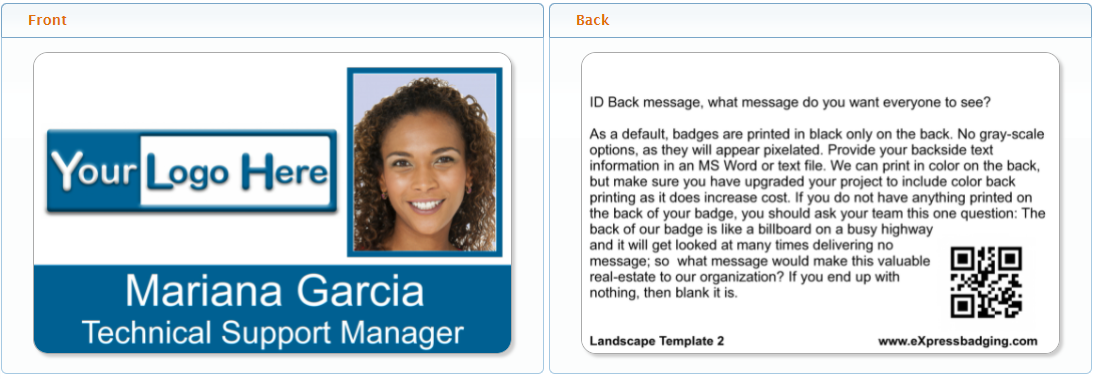
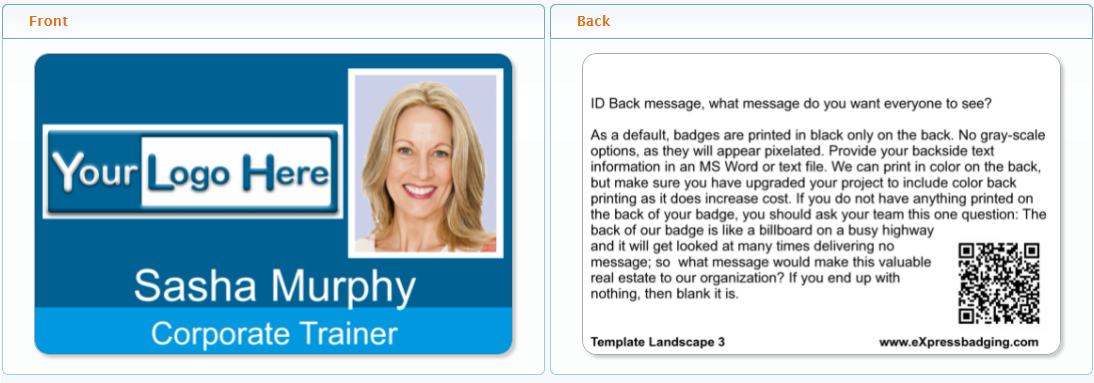
- Sample Badge Templates
- FILE to PRINT Individual Image Printing
- Production Print Preview (P3)
- ID Badge Technology Testing
- DURABadge™ Warranty
ID Badge Print Technology:
eXpress badging® uses professional dye-sublimation ID badge printing technology—the same type of technology organizations use to print badges in-house. Unlike standard office printing, dye-sublimation uses heat to transfer color onto PVC or composite card stock. This process produces high-quality ID badges but also has specific design requirements and acceptable production tolerances.
The eXpress badging® Production team will create your badge printing template using the artwork, data fields, photos, and specifications provided and approved by your organization. The following ID badge design guidelines will help you prepare these elements, avoid common printing issues, and achieve the best possible results.
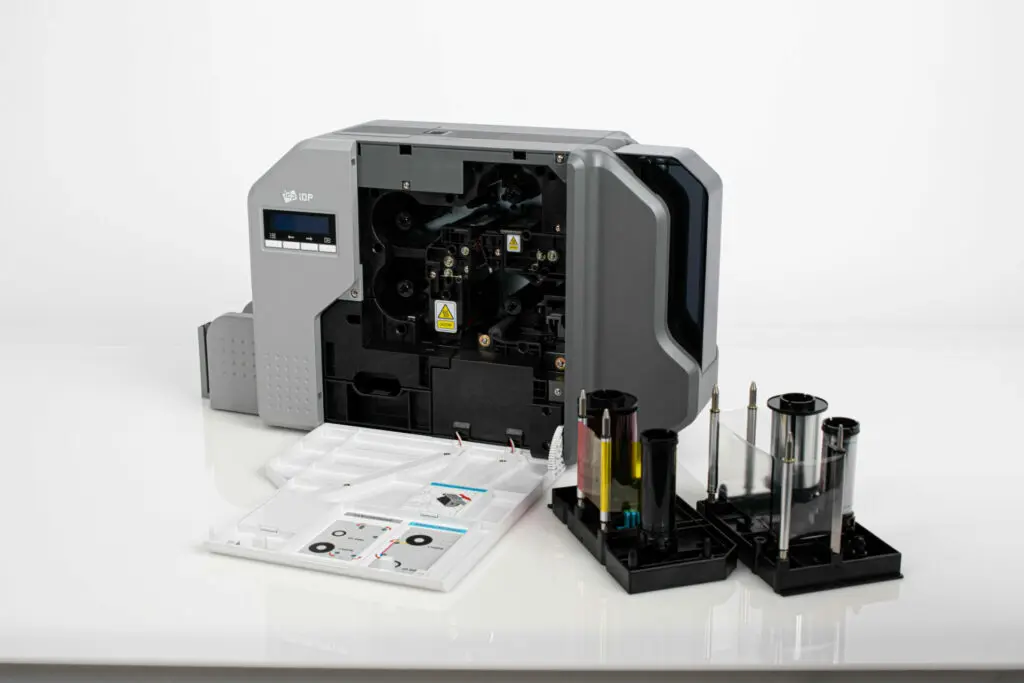
Professional Dye-Sublimation ID Badge Printing
IDP Smart 81 Printer
Dye-Sublimation Printing Expectations
Minor cosmetic imperfections are an acceptable part of the dye-sublimation printing and lamination processes. These processes may occasionally produce slight variations or imperfections. An imperfection is considered acceptable when it does not interfere with the photo, text, logo, barcode, or the badge’s overall appearance under normal viewing conditions.
Acceptable Printing and Lamination Imperfections Include:
- Fine debris or lint particles outside the photo, text, logo, barcode, or other critical printed areas.
- Minor variations in the shade of white PVC or composite card stock between material batches or card technologies.
- Slight color variations resulting from differences in printers, ribbons, card stock, or printing technology, provided they are not noticeable under normal viewing conditions.
- Printed names that extend to the edge of the card but remain fully visible and are not truncated.*
Unacceptable Printing and Lamination Imperfections—Cause for Reprint:
- Printing imperfections, embedded particles, debris, or lint within the photo, text, logo, barcode, or other critical printed areas that are noticeable under normal viewing conditions.
- Debris or air bubbles between the card surface and laminate that are noticeable under normal viewing conditions.
- Printed names that extend beyond the edge of the card or are truncated.*
*Truncation caused by data exceeding the maximum field length is considered acceptable when automatic font-size reduction has been specifically disabled.
Considerations for Badges Produced in the eXpress badging® Standard Format or Without Lamination:
- Extended exposure to sunlight may cause the printed image to fade within weeks or months.
- Badges produced in the eXpress badging® Standard format are not covered by a warranty against fading, cracking, or breaking.
- Printed barcodes are not covered by warranty and may wear away within weeks or months, depending on handling and use.
If a badge produced in the eXpress badging® DURAbadge™ format fades, cracks, or breaks within 24 months of its ship date, please review the DURAbadge™ warranty below to determine whether the badge qualifies for replacement.
ID Card Materials
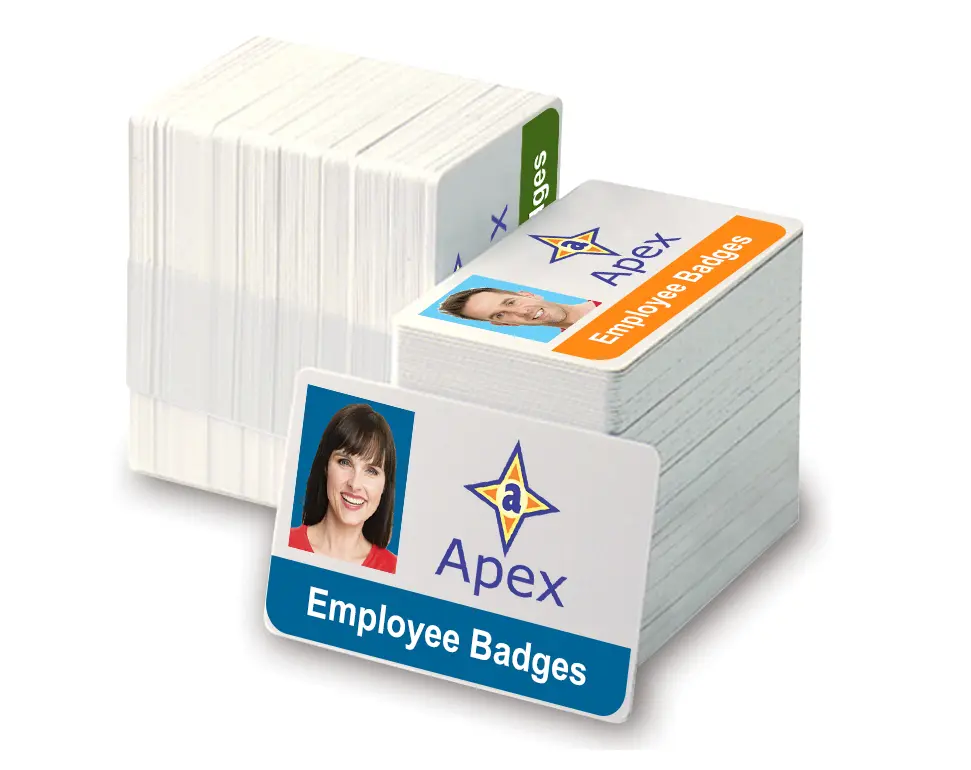
The eXpress badging® Production team prints photo ID badges on white PVC card stock. The shade of white may vary between standard 100% PVC cards and composite cards made from 60% PVC and 40% polyester. Because raw materials and manufacturing processes vary, an exact match in the shade of white cannot be guaranteed across different card technologies, manufacturing batches, or future orders.
Additional card materials and technologies are available for specialized applications. Cards that differ from the standard CR80 size of 3.375″ × 2.125″ are considered custom and may require additional production time and cost.
- Technology Cards
- RFID proximity cards
- RFID MIFARE® and other contactless smart cards
- Magnetic-stripe cards
- Cards printed with barcodes
- ID Badge Options
- Lamination for increased durability and fade protection
- Adhesive-backed card stock
- Tri-modal security seals
- UV ink printing
- Foil stamping
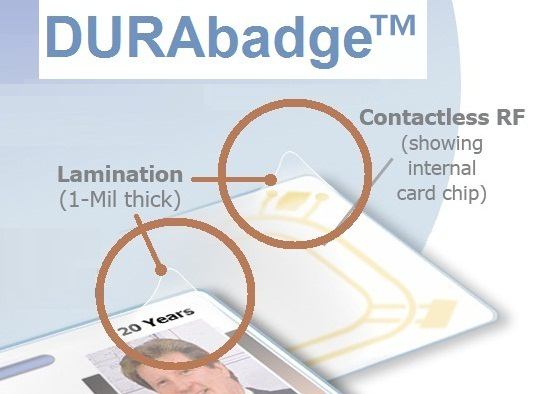
RFID Card Printing, Lamination, and Slot-Punch Considerations
RFID cards contain an embedded chip and antenna that may create surface irregularities. When printed using a direct-to-card (DTC) PVC card printer, these irregularities can cause color variation, image distortion, or unprinted areas over or near the chip and antenna. Whenever possible, critical design elements—including photos, names, logos, barcodes, and small text—should be positioned away from these areas.
A bright mobile-phone flashlight may help reveal the antenna location in some RFID cards. However, this method should not replace the card manufacturer’s specifications, antenna diagram, or designated slot-punch markings.
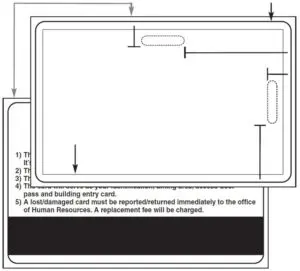
Slot-Punch Location Is Critical
- Punching through an RFID antenna will permanently damage the card and prevent it from working with the intended card reader.
- Many RFID cards include dotted lines, arrows, notches, or other markings that identify an approved slot-punch location.
- Depending on the card’s construction, an approved location may be provided on the long edge, short edge, both edges, or neither edge.
- Some RFID cards are not designed to be slot-punched.
- Never assume that an RFID card can be punched in the same location as a standard PVC card or another RFID card model.
- Before punching an entire batch, confirm the approved location with the card manufacturer or supplier. Print, laminate, and slot-punch one card, and then test it with the intended reader.
Printing and Durability Recommendations
- Test any new or unfamiliar RFID card using the actual card design, printer, ribbon, and lamination process before beginning full production.
- Reverse-transfer printing may provide better print coverage and image quality on cards with uneven surfaces or embedded electronics.
- Composite cards made from 60% PVC and 40% polyester are generally recommended for laminated cards because they better withstand the heat and pressure of the lamination process.
- Applying a 1-mil laminate patch to each side can provide additional durability and help reduce image fading caused by sunlight exposure.
- Confirm that the selected card stock, printer, laminate, and slot-punch location are compatible before ordering or producing a complete batch.
Contact your eXpress badging® ID Specialist for assistance selecting, designing, printing, laminating, or slot-punching RFID cards.
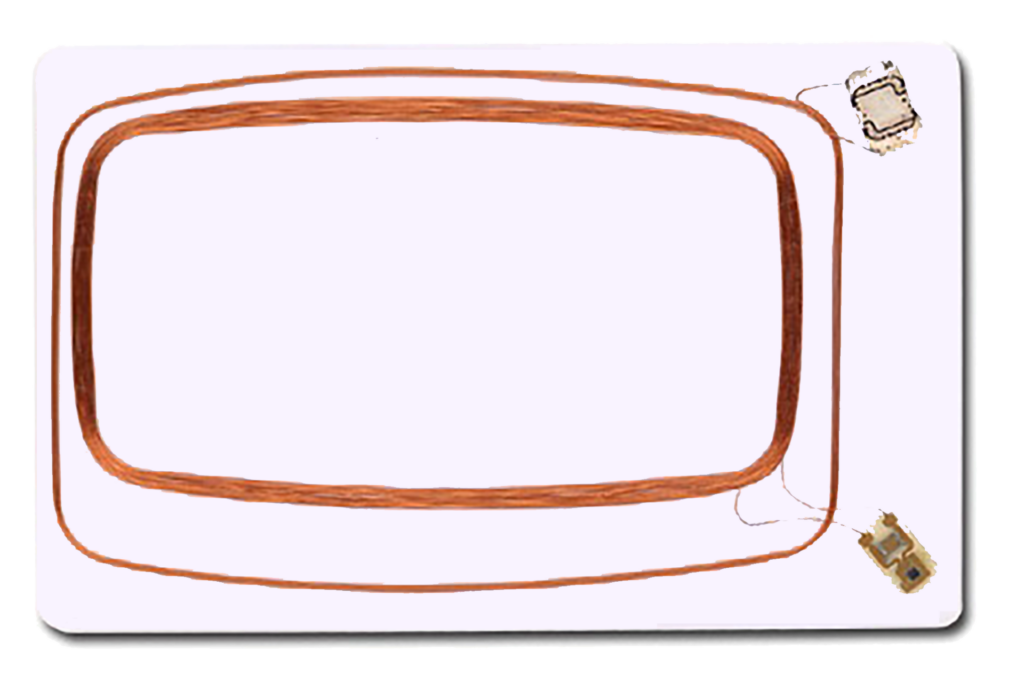
Duel 125 kHz Proximity and
13.56 MHz Mifare® PVC Card
Artwork Specifications
Artwork for Badge Designs:
- Provide the highest-quality, current artwork available for logos, service marks, trademarks, static graphics, and brand colors.
- Whenever possible, obtain original source artwork and current brand guidelines from your organization’s marketing or communications department.
- Low-quality, flattened, or incomplete artwork may require billable professional artwork services before it can be used.
- Provide a static background graphic for use in the badge printing template.
- Do not include employee photos, names, identification numbers, barcodes, or other variable information in the static background graphic.
- Separate mockups showing the intended placement of photos, text, and other variable elements may be provided for reference.
- If you submit a complete badge design containing variable elements, provide a layered PSD or editable PDF that allows the static background and variable elements to be separated.
- A flattened JPG, PNG, or PDF may be used as a visual reference, but artwork that cannot be separated may need to be recreated for an additional fee.
- Provide separate graphics for elements that print only when specified conditions are met.
- For example, when the Certification field contains “Forklift,” a corresponding forklift-certification graphic can be added to the badge.
Preferred File Types and Settings:
- Prepare artwork in RGB color mode.
- Provide artwork at the intended print dimensions.
- A resolution of 600 DPI is preferred.
- A resolution of 300 DPI may be acceptable for less-detailed artwork when supplied at its intended print size.
- Use the file format appropriate for the artwork:
- Transparent PNG for logos or graphics requiring a transparent background.
- High-quality JPG or PNG for badge backgrounds and design mockups.
- Layered PSD or editable PDF for complete badge designs that require individual elements to be separated.
- The eXpress badging® Production team normally accepts JPG, PNG, PSD, and PDF artwork files. Other file types may require conversion or professional artwork services.
- Maintain the artwork’s original proportions when resizing. To preserve image quality, do not enlarge or reduce raster artwork by more than approximately 25%.
- The finished standard CR80 badge size is 3.375″ × 2.125″ (3-3/8″ × 2-1/8″).
- Full-bleed designs and completed FILE-to-PRINT images have different file-dimension requirements. Refer to the corresponding sections below before preparing those files.


Mouse Over For Data and Photo Merge
Providing Artwork Files
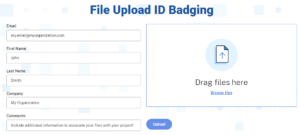
eXpress badging® provides several secure methods for submitting artwork files:
- Use the ID Badge File Upload Center.
- Review the Upload Center Instructions before submitting your files.
- For artwork files larger than 10 MB, we can provide access to a secure ShareFile account.
- By prior arrangement and authorization, our team can remotely assist in retrieving artwork from your organization’s server.
Color Matching
Dye-Sublimation Color-Matching Expectations:
The eXpress badging® Production team will make every reasonable effort to reproduce your organization’s colors as closely as possible. However, exact matching to RGB, CMYK, or Pantone Matching System (PMS) color values cannot be guaranteed when printing ID badges using dye-sublimation technology.
- Submit artwork in RGB color mode as specified in the Artwork Specifications section.
- Provide the applicable RGB, CMYK, or PMS color values as references when color consistency is important.
- Colors displayed on a computer monitor or produced by an office printer may not accurately represent the final badge color.
- Printed colors may vary because of differences in monitors, color profiles, printers, ribbons, transfer films, card stock, printer settings, and production technologies.
- Minor color variations between production runs, card materials, printers, or future equipment upgrades are considered acceptable.
- Teal, burgundy, and certain other colors can be particularly difficult to reproduce consistently. Additional test printing or color adjustment services may be recommended and may incur additional charges.
If color accuracy is especially important, request a physical printed sample before approving full production. A digital proof can confirm the design, content, and general color appearance, but it cannot guarantee the exact color of the finished badge.
Custom-Printed Stock for Tighter Color Control:
Organizations requiring tighter color control should consider factory-printed custom cardstock. Depending on the printing method, PMS spot colors may be available and must be identified in the artwork and included in the approved order specifications.
- Custom-printed stock may involve minimum order quantities, proofing requirements, setup charges, spot color charges, and other production costs.
- Plan for a lead time of at least 20 business days after final artwork, specifications, pricing, and proofs have been approved.
- Actual production time may vary based on the card material, printing method, technology requirements, quantity, and manufacturer availability.
Even with custom-printed stock, reasonable manufacturing and material tolerances may apply.
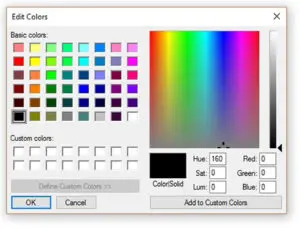
Color Palette and Matching
Full-Bleed Designs, Multiple Designs, and Color Coding
Full-Bleed Designs:
Direct-to-card (DTC) PVC card printers—the standard printers most organizations use for in-house badge production—do not print completely over the edges of a card. As a result, a thin white border may appear along one or more edges of a full-bleed design.
For the best possible results, extend the artwork beyond the finished card dimensions on every edge intended to bleed. A minimum extension of 0.05″ is required; however, a 0.125″ extension is preferred.
The eXpress badging® Production team primarily uses high-definition, 600 dpi reverse-transfer printers for projects requiring edge-to-edge printing and higher-resolution graphics. For these projects, extend the artwork 0.125″ beyond each edge intended to bleed.
The eXpress badging® Production team also maintains a small fleet of direct-to-card printers. These printers allow us to match badges previously printed onsite by customers, including badges produced for rebadging projects.
Multiple Designs and Color Coding:
If your project includes multiple badge designs or uses color coding, provide a cross-reference that identifies the data field and field value that determine which design or color is assigned to each badge.
For example, if the Badge Type field controls the badge color:
- Employee = Blue
- Contractor = Yellow
- Temporary = Red
The field names and values in the cross-reference should exactly match the data submitted for badge production.
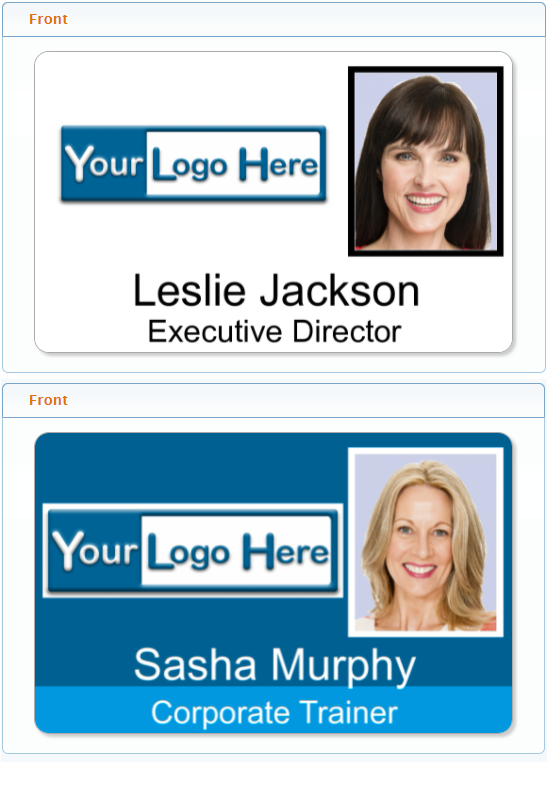
Mouse Over For Full Bleed Preview
Fonts:
To ensure consistency across different badging management software platforms, eXpress badging uses Arial as its default font and recommends that you do the same. Using a different font for your variable data might not be noticeable to most people and could make it harder for others to read. However, for badge design static text, you are free to use your preferred font.
We do offer a limited selection of other fonts if Arial is not suitable for your needs. If you need to use a specific font, please provide the font name, font files, licensing agreement, and formatting information. Please note that additional costs may apply if font licensing is required by eXpress badging for the font you request.
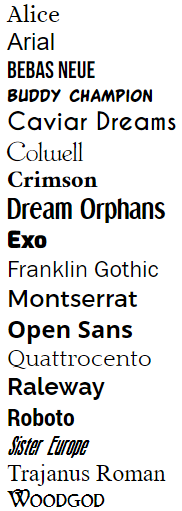
Font Options
Font Attributes and Auto-Reduce
In general, the fonts for all merge fields (such as first name, last name, title, department, etc.) are automatically adjusted to fit within the defined text area. This means that longer entries will be printed in a smaller font size to prevent cutting off the text, while shorter entries will be printed in a default larger size for better readability.
If you prefer the font sizes to remain the same regardless of text length, you’ll need to figure out the maximum character length before the text gets cut off, and then input your badge data accordingly. Your badges will be printed exactly as entered, whether the text gets cut off or not, and if you need them to be reprinted, you will need to cover the cost.

Auto-Reduce Font Atribute
Badge Photos and Orientation
- We suggest using cropped rectangular headshots that show the person’s entire face, with minimal background visible.
- The standard industry size for a badge photo is 1″ × 1.25″.
- Photo Cropping and Headshot Position
- Badge photos should be centered and show the person’s complete face from ear to ear and from the top of the head to the chin. Most, if not all, of the person’s hair should remain visible within the cropped photo.
- Proper positioning is especially important when using oval or circular photo crops. As a general guideline, the face—measured from ear to ear—should occupy approximately:
- 75% (3/4) of the photo width for rectangular photos.
- 65% (approximately 2/3) of the photo width for oval photos.
- 50% (1/2) of the photo width for circular photos.
- These proportions provide sufficient space around the person’s head and help prevent the face, hair, or other important details from being cut off by the selected photo shape.
- When capturing a high-resolution source image, photograph the person from approximately mid-body upward, keeping their head centered. This provides sufficient space for the photo to be zoomed and cropped correctly before submission.
- Photos are printed as submitted. Our Production team does not retouch, reposition, zoom, or individually crop submitted photos unless a photo-cropping service is procured and specified in your order. Oval and circular photo masks change the photo’s visible appearance but do not automatically reframe/center the person’s face. Please review and properly position each photo before submitting it.
- If you choose different dimensions, it may affect previously captured images and their appearance.
- Previously cropped images are converted to low-resolution images, which can cause issues when resizing.
- Please note that we are unable to convert square-cropped photos to rectangles.
- We provide oval and circular photo printing.
- For ovals, we use rectangular-cropped photos.
- For circles, we use square-cropped photos.
- The corners of square photos will not appear when a circular photo mask is applied.
- We recommend using color bars and thick borders to make color codes easily identifiable and noticeable.
- We do not recommend using colored photo backgrounds.
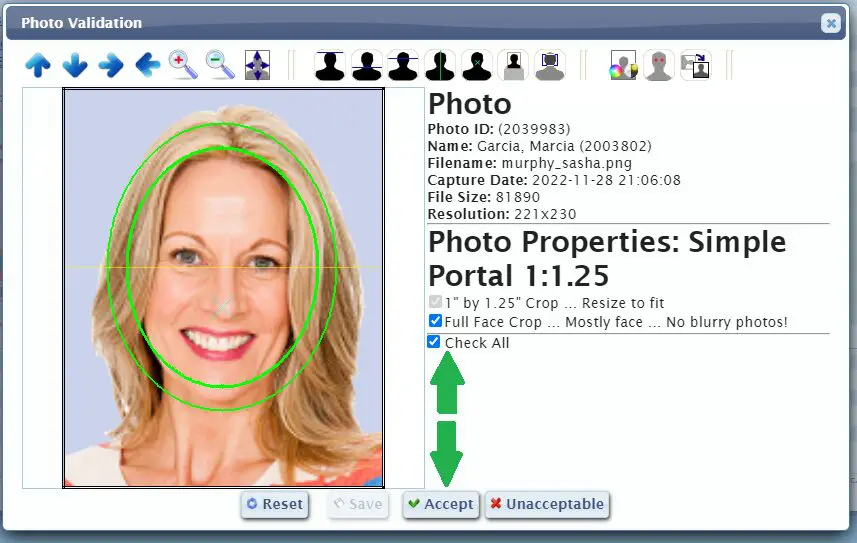

Mouse Over For Photo View Options
Backside Printing:
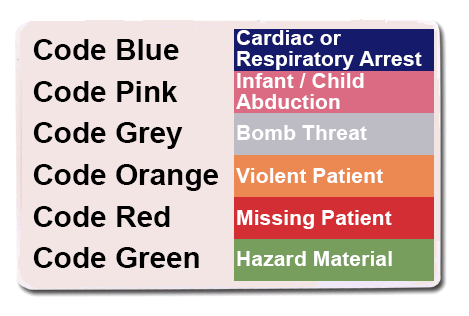
By default, badges are printed in black only on the back. There are no grayscale options available, as they will appear pixelated. Please provide your backside text information in an MS Word or text file. While we can print in color on the back, be sure to upgrade your project to include color back printing as it increases the cost.
If nothing is printed on the back of your badge, ask your team this question: “The back of our badge is like a billboard on a busy highway, and it will be looked at many times without delivering any message; so what message would make this valuable real estate to our organization?” If you end up with nothing, then leave it blank.
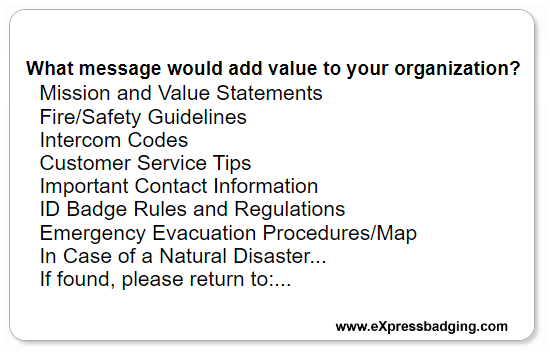
Mouse Over For Color Back View
Slot Punch Considerations and Tips
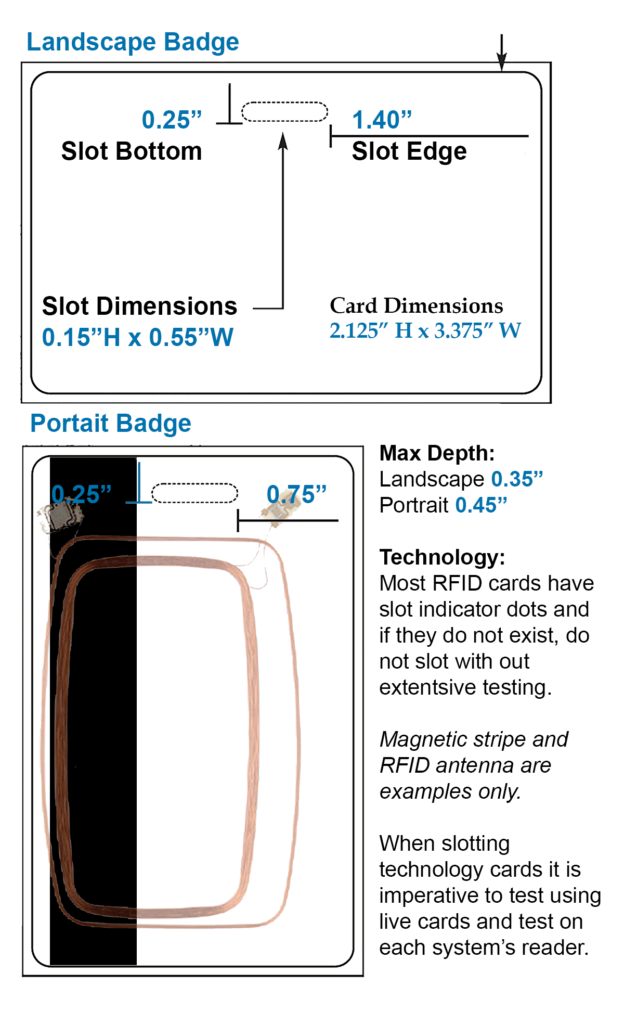
Most photo ID badges are slot-punched to be used with a badge holder (clip, lanyard, or reel). When designing the badge, it’s important to consider the slot location. The standard offset of the slot is 0.25″ from the bottom, centered on the top edge. The standard slot width ranges from 0.55″ to 0.625″, and the standard slot height is 0.15″.
Design Considerations:
- When designing both the front and back of a photo ID badge, it is best to add a slot placeholder so you can design around it.
- Ensure that once slotted, it does not cut into logos or placed text
- Turn off the slot placeholder when saving the final badge background template.
- Otherwise, it will be printed, and portions may appear of the printed and slotted badge.
Other Consideration:
- To prolong the life of the slotted area, consider using composite PVC card stock, which is more flexible and can withstand temperature changes and damage caused by sunlight. Upgrading to a laminated badge will prolong the life even more. Both features will eliminate the need for plastic badge holders.
- RFID cards can be slot-punched, but it’s crucial to know where to punch them. Most RFID cards have printed hash marks in either portrait or landscape formats. Some cards can only be punched on the shorter edge in portrait orientation. However, lower-quality RFID cards may not have hash marks. In this case, you can use a mobile phone flashlight to locate the antenna edges and determine where to punch. It’s important not to assume that all cards were packaged with the orientations all the same, so be sure to check each one individually.

Mouse Over For Slotted Badge
Design Templates and Proofing:
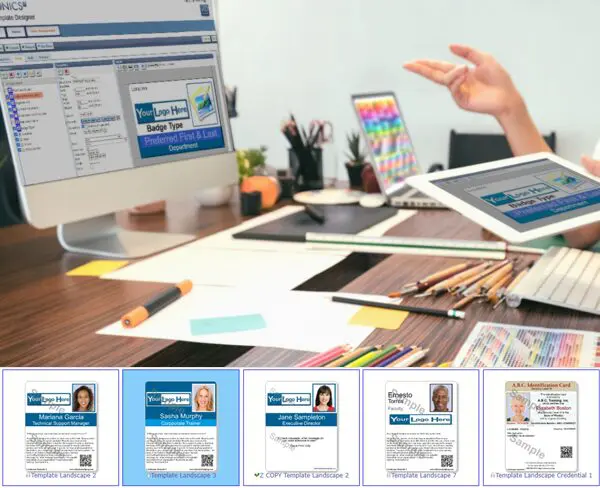
eXpress Badging will import your logos and create a badge template with data merge fields for printing based on the template and design setup you selected and approved. This is an industry best practice. If you have already designed your badge according to the required specifications, please deactivate all variable data elements, photos, slotting, outlines, etc., so that only the design template is saved as specified in our artwork section above. eXpress badging will incorporate the merge fields and photos within our badge template using the fonts stated above.
Proofs
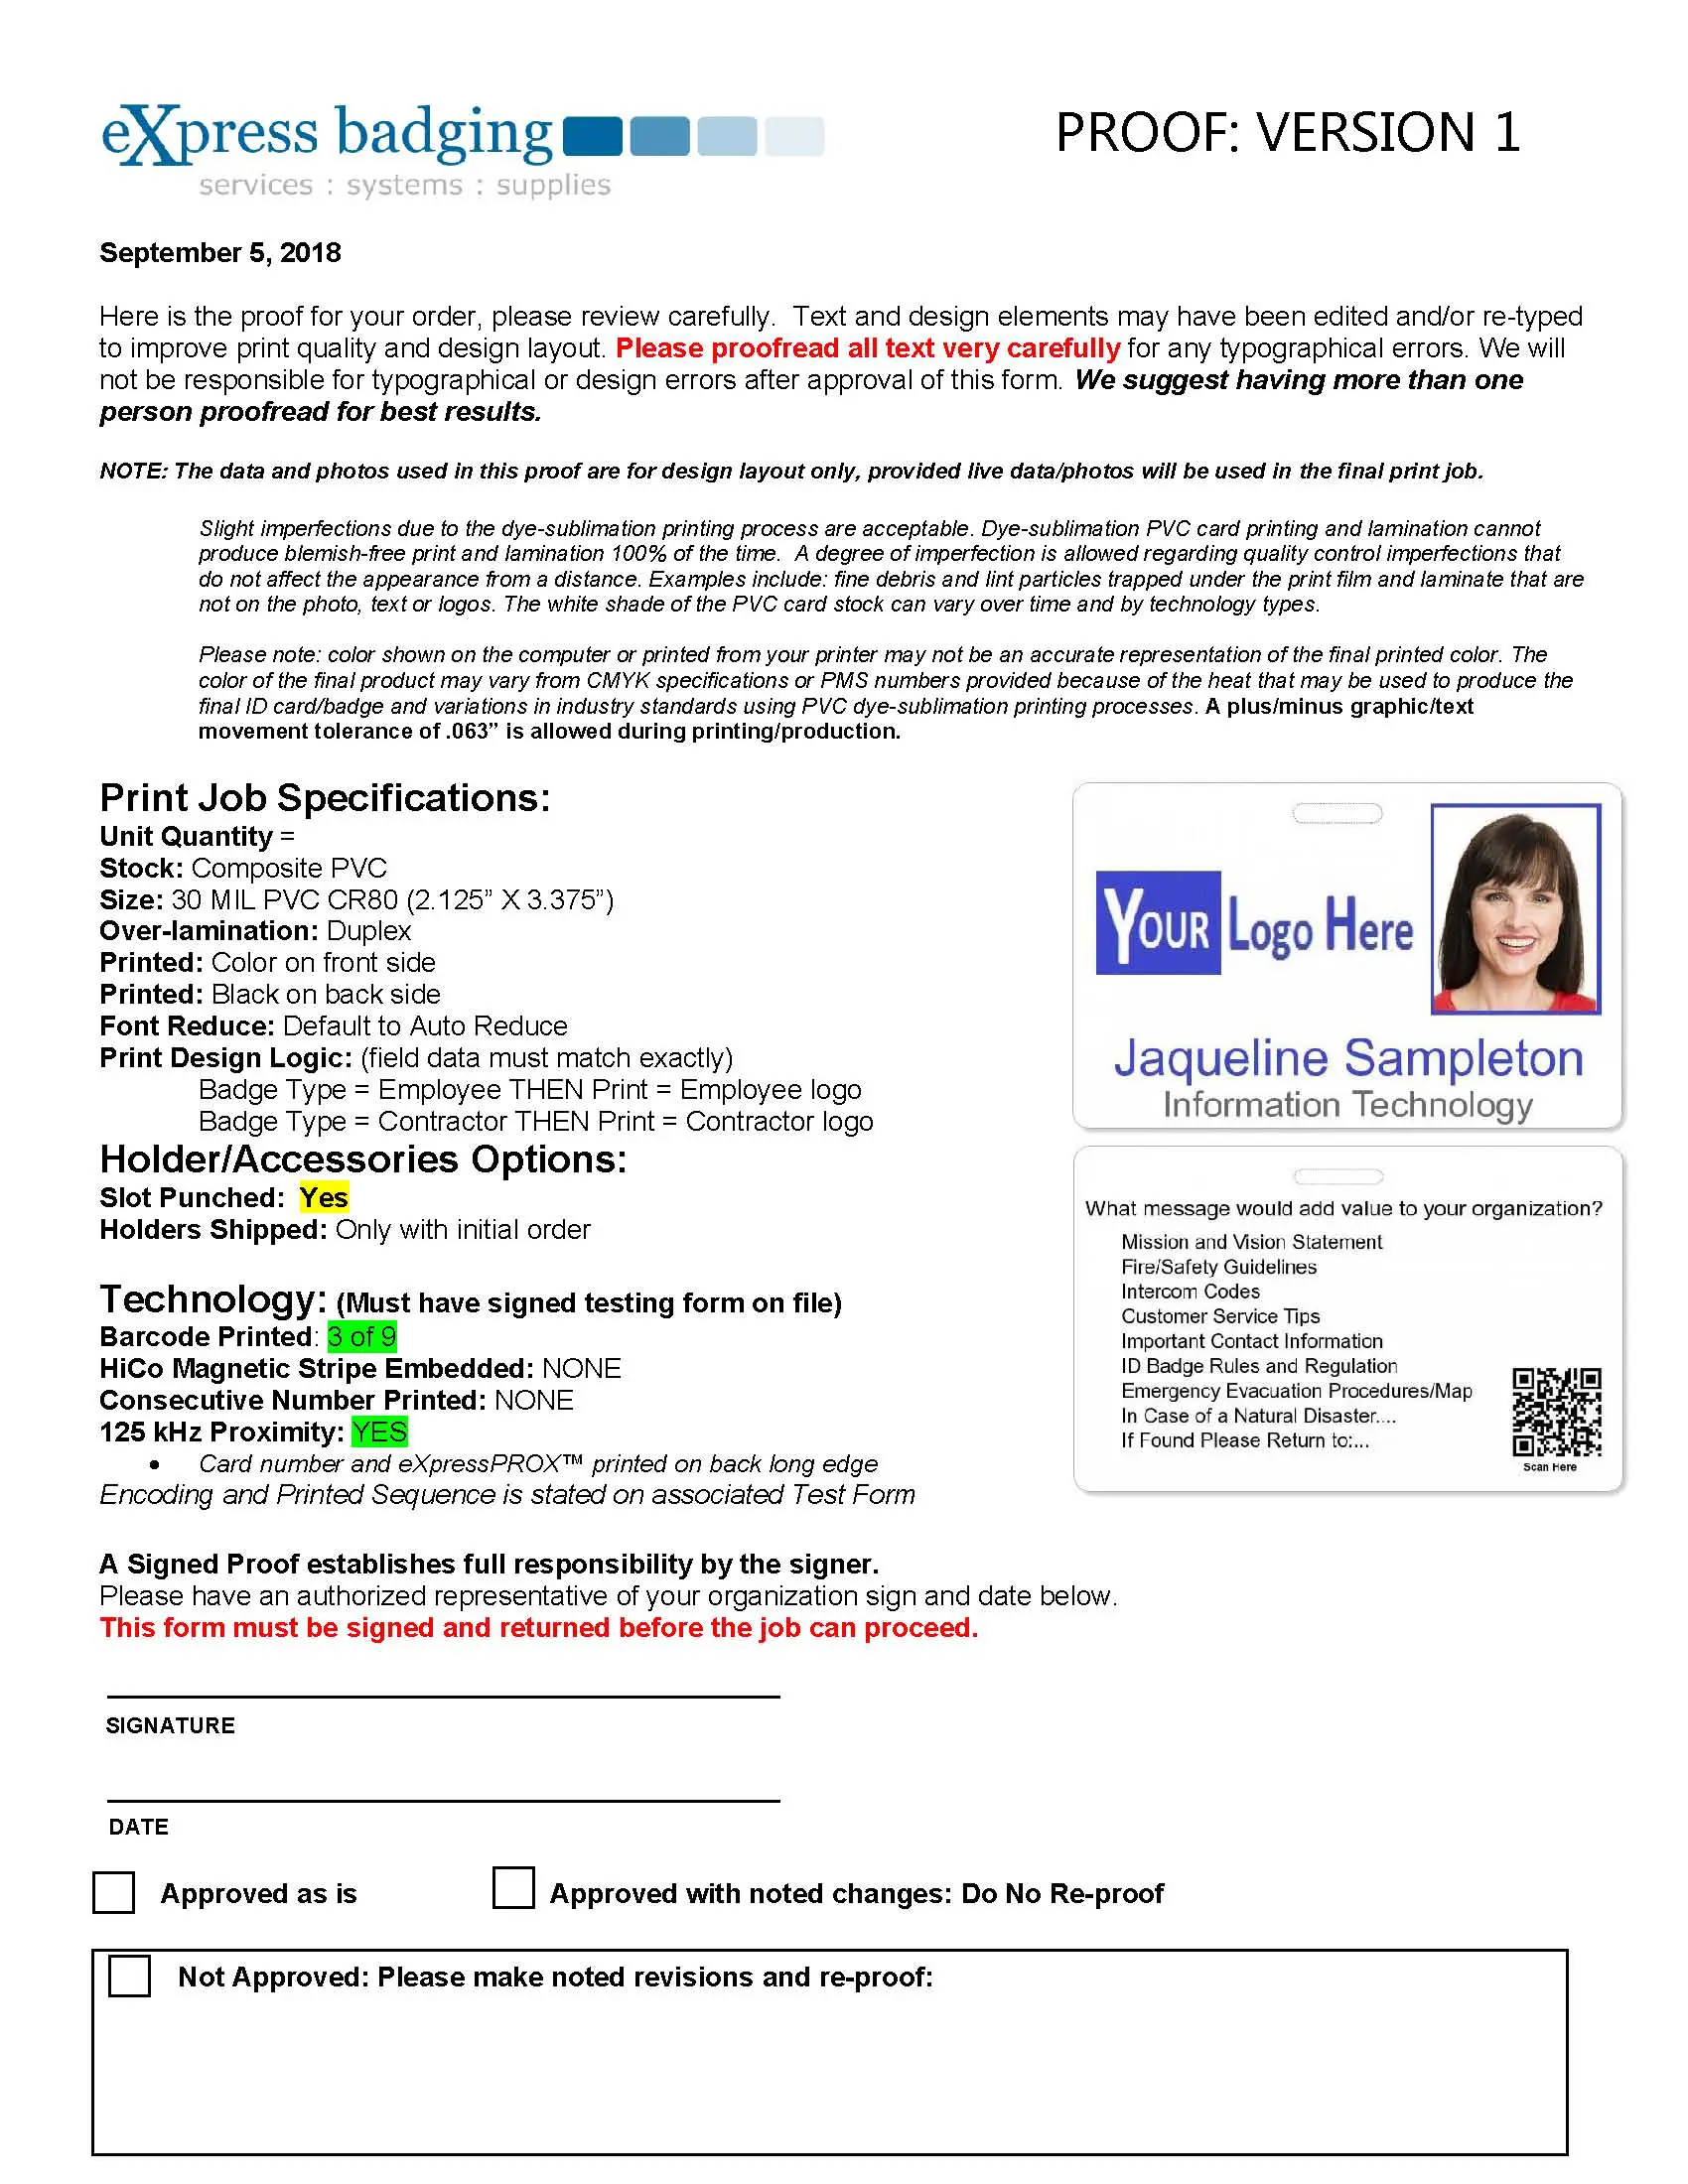
eXpress badging will send formal proofs for the customer’s digital signature within two to three business days of receiving the order, associated artwork, and graphics files (if applicable). The proof process is not a stage for designing the badge; it does not allow for multiple changes to determine the final look of the badge. If a customer is unsure about the design of the ID badge, they should work with their ID Specialist to provide a preliminary mockup. We can email hyperlinks for quick review. Once the proof is approved, eXpress badging can mail Production Proof samples for final review. Production Proofs are usually mailed via USPS First Class unless expedited shipping is requested and paid for by the customer. Proof fees are charged to the customer for new badge designs and for previously approved designs that require edits.
Before proof approval, have more than two authorized and qualified individuals review it. Once an authorized customer representative approves the proof, eXpress badging requires it to be digitally signed via a provided link or printed/signed/scanned version that is emailed back to eXpress badging. The customer signed and approved proof transfers the responsibility of proof accuracy to the customer’s signer. Any reprints required after proof approval due to noted errors or edits will be at the customer’s expense. No exceptions!
Customer at-fault issues:
- The customer approves the design proof that contains an error(s)
- The customer provided the wrong ID numbers for eXpress badging to encode/clone from
- The customer provided the wrong photo assigned to an ID number
- The customer approves non-approved Portal records (data and/or photos) for printing
- The customer provides an incorrect badge type (different locations have different systems and therefore different badge types)
- The customer makes a design change after the approval of the proof
Basic Template Design
- Customers select a design template on our website (scroll down from here).
- You’ll be provided a preview of a virtual ID.
- Basic Templates are designed for those who do not require design control and either minor edits, or none at all.
Basic Template Edits
- If you require any edits to the template they must be submitted at the time of your file drop submission
- Otherwise, a design change fee will be charged ($25.00).
- Edits can only be
- Font type, font and photo border color, and font size: be specific.
- Take the time now and determine how you want the design to look.
- Copy the template (Print Screen), paste and edit in MS Paint, and type out all edits.
- Save it in JPG format and provide the file with your file drop.
- We do not provide formal proofing for approval other than a URL preview.
- More than one edit with a preview will require a $25.00 design change fee per occurrence.
- If you have specific design requirements, you’ll need to upgrade to our Standard Design service, which costs more and provides more design options and edits along with digital proof for sign-off.
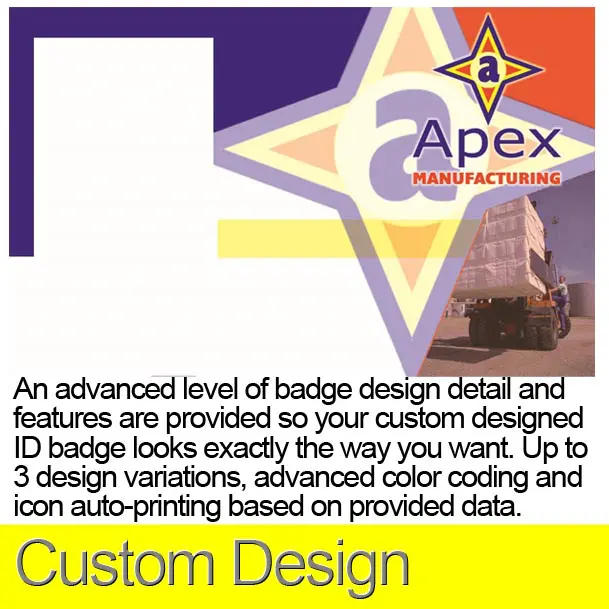
Standard Template and Custom Design
- eXpress badging prints an actual ID badge and provides a scanned image proof for approval and sign-off.
- Customer-provided badge designs serve as the guide for proofing and are used by eXpress badging to create the final ID badge template, providing an actual representation of your finished badge.
- Printed samples can be mailed upon request.
- Your approved proof approval must be received before ID badges can be printed.
Mouse Over For Design Template
and merged ID badge.
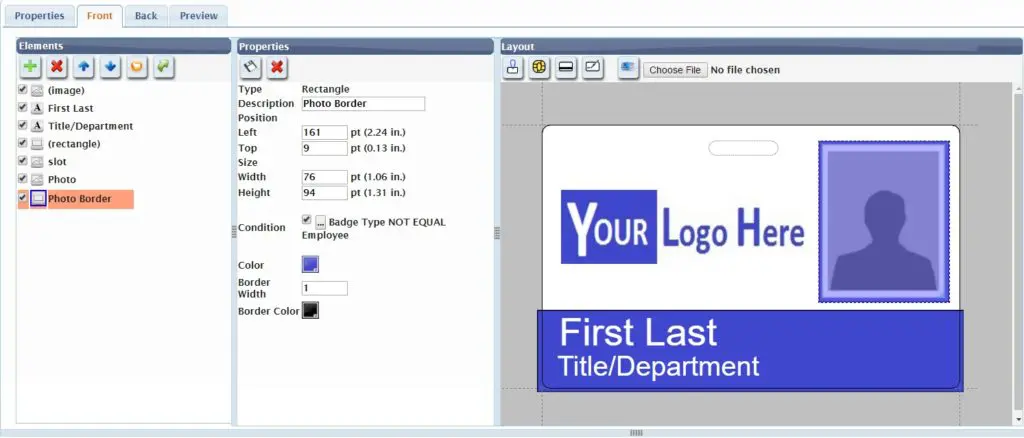
Badge Template Designer
with Merged Elements


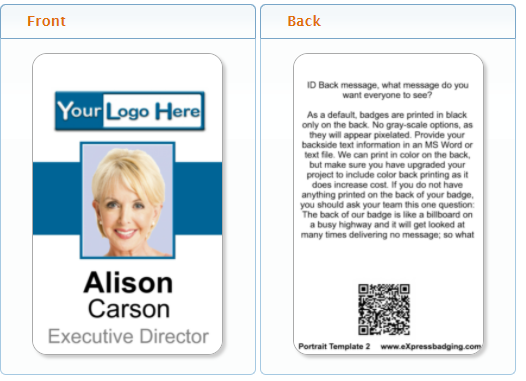
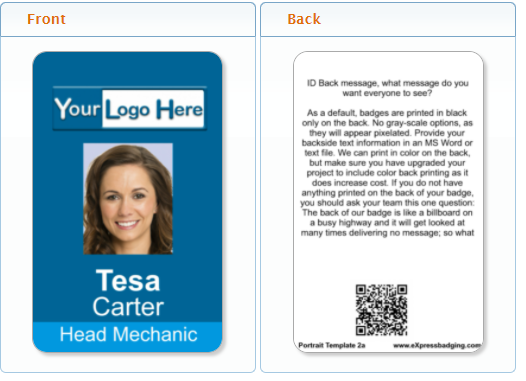
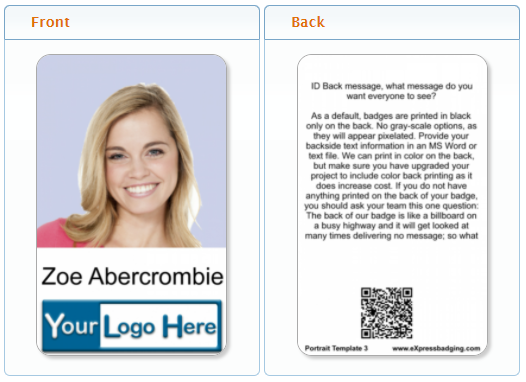
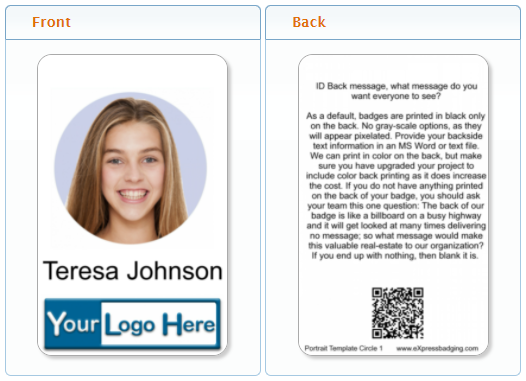
Sample Badge Templates
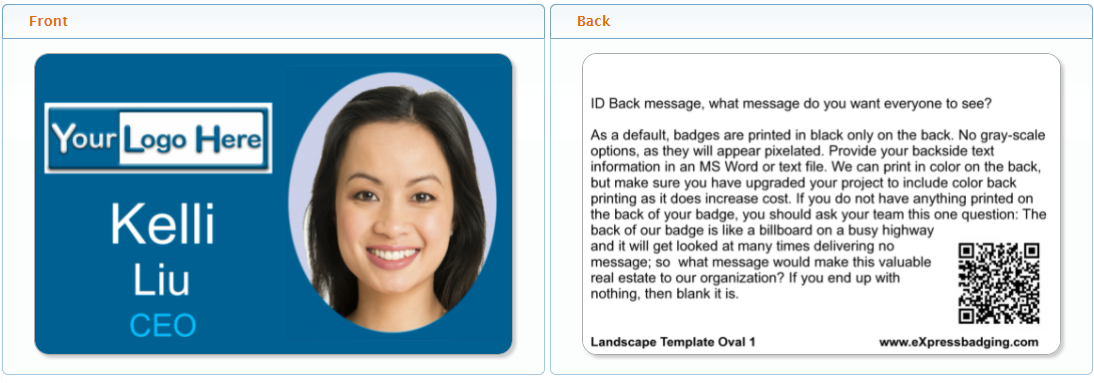
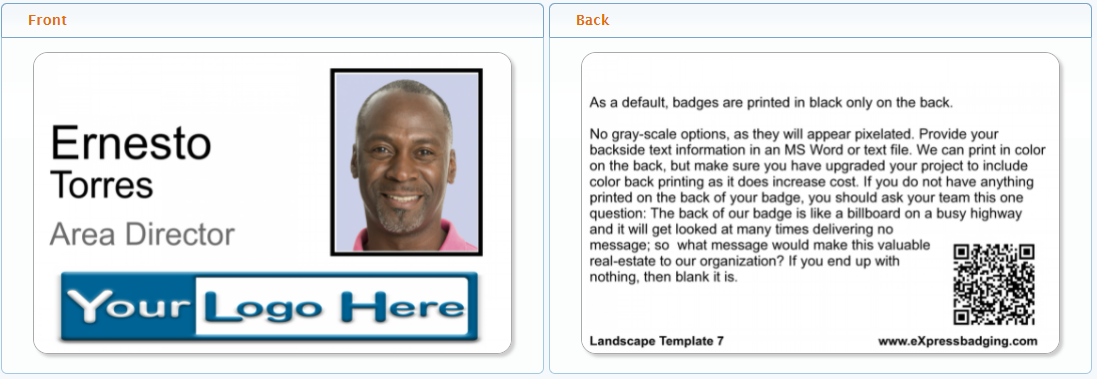
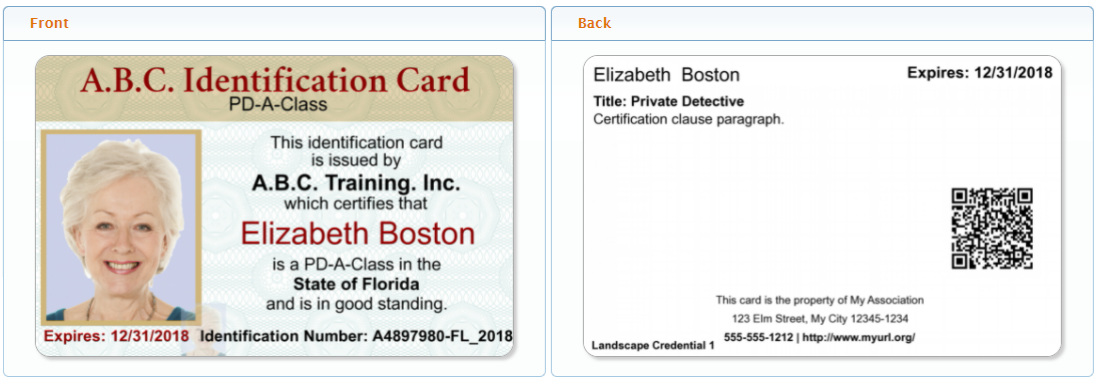
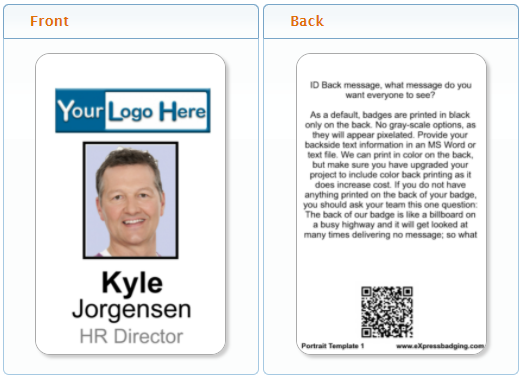
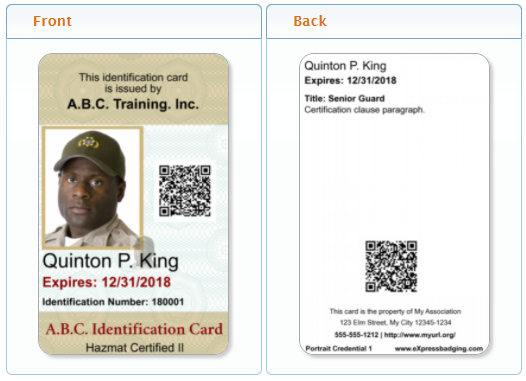
Click on an image below to see the virtual badge.
FILE to PRINT Individual Image Printing
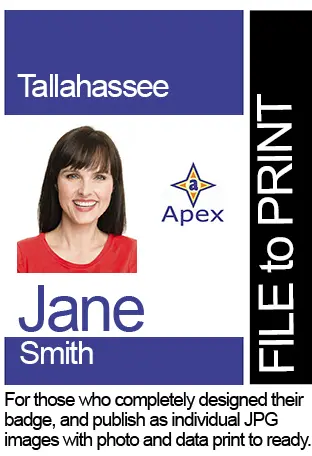
For customers who want to provide a completed graphic design for their ID badges, we offer our FILE to PRINT service. Please note that we do not make any edits to customer files. Files will be printed exactly as they are sent.
To avoid receiving a poor-quality print, follow the steps below.
Please note that providing finalized files for printing photo ID badges is not the typical process. We recommend using our design merge template process, where you provide the badge design background file without the photo and data, utilizing one of our templates for placement. We will then import the data and photo merge elements for printing. After that, you only need to provide a spreadsheet and data or use our Portal to enter, upload, and preview each badge before submitting it for printing. This approach ensures higher print quality and is simpler to manage.
FILE PROPERTIES
- JPG and PNG files only: convert all PDF, PSD, AI, and other files
- 600 DPI using RGB configuration
- If you want the files printed in a sort order, use a naming convention that is sortable: last_first.jpg or .png
- Use our ID Badge File Upload Center to provide individual JPG/PNG images or zip file
BADGE DIMENSIONS
- Landscape badge must be 3.475” x 2.225”
- Portrait badge size must be 2.225” x 3.475”
- Print Zone is L = 3.375” x 2.125” or P = 2.125” x 3.375”
- No Print Zone is .05″ of the surrounding border
BADGE DESIGN
- Visit our Template Library for starting designs
- Leave room for slots at the top of both sides of the badge
- Do not include slot location marks or border edge lines; they will be printed
- Save with the design image with square corners if the design bleeds off the edge
- Do not use fonts smaller than 6 points, they will not print clearly
- Solid backs look great but will show more card printing imperfections
TOO MUCH TIME TO FORMAT FILE TO PRINT?
- Send the background file with no data or photos
- Provide a spreadsheet of data
- Provide group or zip files of photos
- Use our Proofing Process to guarantee your badge design is perfect
- We will merge-print your badge print job the correct way, with less work on your side
Production Print Preview (P3):
For larger projects that have multiple badge designs or want to preview the entire print job before printing, eXpress badging offers a Production Print Preview we call a P3. This is a recommended step when printing on RFID stock to ensure it is printed correctly the first time. We print the entire order to PDF and securely provide the file as a Print Job Proof, and we require signoff just as we do with the badge design proof. Once approved, eXpress badging prints the job as provided within the P3.
The P3 addresses a few concerns:
- Are the photos assigned to the correct record, or are photos missing?
- Are the photos cropped to the correct aspect ratios and standards?
- Are the photos cropped to standard correctly?
- Is the record data correct and prints the correct badge template?
- Is the sort order correct?
The P3 is not a design-proof tool and is used only for data/photo verification only.
If badge design corrections are required in the P3 stage, and proofing was approved; the approved proofs are voided, and the project is paused until the badge design corrections are re-proofed and approved.
FREQUENTLY ASKED QUESTIONS
Q: My badges do not look like the badge proof we approved looks.
A: A P3 is not meant to represent the final look of printed badges. This file is not intended to be used for design changes.
Q” Why does my P3 look off-center?
A: Your badges are constructed in software meant for printing physical badges, not authoring PDFs. Printed badges will be centered, straight, and true.
Q: Why is the upper margin larger than the lower?
A: Your badges may be slotted for use with a clip or lanyard and, as such, require extra space for the hole.
Q: Will my badges have round corners?
A: Yes, your printed badges will have round corners
Q: I noticed an error; what should I do?
A: Let us know! But first, please review the rest of the P3 so that we can make all corrections in one pass. Orders requiring additonal P3’s will be assessed a fee of $25 per additional P3.
ID Badge Technology Testing
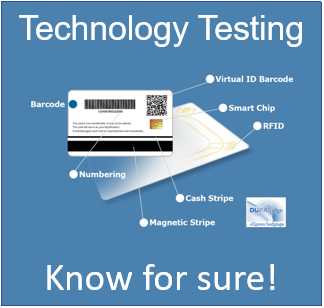
In addition to the design and proof process, eXpress badging requires technology testing and sign-off for any cards used in a badge reader system. This ensures that the ID badges produced by eXpress badging will work in all your systems. Sample test cards are provided based on customer specifications. Test cards must be enrolled in each system used, and then transactions are generated for each test card provided. We recommend printing a transaction report in each badge reader system to document successful ID badge enrollment and transaction generation (the badge works in the reader). The report should indicate whether the badge opens the door, records a time punch, records a tracking transaction, and records the transaction in the system using the unique badge ID number and the person assigned to it.
Testing guidelines:
- Start by identifying all badge reader systems in use. Provide the manufacturer’s name, the integrator/dealer information, and the point of contact for each system.
- Take a photo of your RFID card box label and/or back of the card and email it to your sales representative.
- Identify the systems used for:
- Time and Attendance
- Access Control
- Tracking Systems
- Point of Sale
- Document the reader type and specifications for each technology used:
- RFID Proximity (125kHz)
- RFID Contactless (13.56 MHz)
- Barcodes
- Magnetic stripes
DURABadge™ Warranty
The “Standard” PVC badge by eXpress badging does not come with a durability warranty. If you use the non-laminated “Standard” format badge, the image may fade due to extended sun exposure within a short period, and such fading is not covered by warranty. As the “Standard” format badge ages, it may become more brittle, leading to cracks in the slotted area or even the entire card breaking. Barcodes on the “Standard” format badge are not warranted and may wear off quickly.
The DURAbadge™ formatted badges, which have a 1MIL over-laminate on each side, will last much longer and come with a two-year warranty. The warranty covers badge cracks, slot punch area breaking, badge breaks, and images on any laminated side due to regular card use. This warranty starts from the date of order processing/shipping.
eXpress badging’s Warranty Procedure:
- The badge must have been produced by eXpress badging within the last 24 months and meet the terms mentioned above.
- If there is an issue, take a photo of both the front and back of the badge and send it to eXpress badging’s production department.
- Wait for eXpress badging’s approval acknowledgment before destroying the badge. They may request that defective badges be returned at their expense.
- If the badge technology stops working, eXpress badging may provide a self-addressed/stamped return envelope for evaluation or ask that the defective cards be destroyed.
- If you have any questions regarding our design process or the above guidelines, feel free to ask. Please contact our ID Specialists for assistance!